
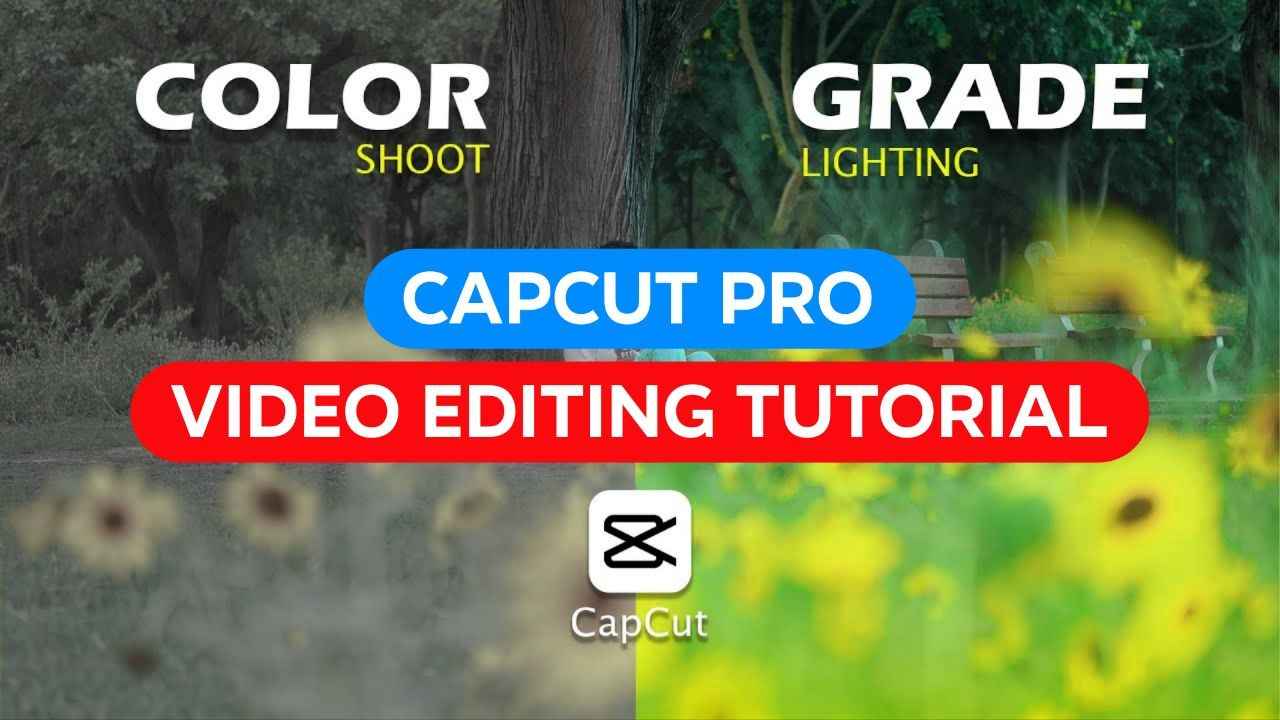
Capcut Video Editing Tutorial: From now on, you can make any of your normal or round videos in very high quality plus you can do such wonderful color grading only with the Capcut pro app. I have given many such video editing tutorial posts before, so today I will teach you a little bit in a new way that how to edit these videos with Capcut pro. If you upload high quality videos on regular social media, then your video will have a lot of chances of going viral. So for those who have been requesting for so long that how to do editing, today I will request to make a special video and you will learn the editing by watching the complete article. We will do all the work for free. I will make another request and give a like to this post. So friends, without further ado, let’s go to our mobile screen. Friends who do not have Capcut on their mobile phones, you must first go to the Google Play Store and install the Capcut pro app. So if I write capcut pro from here and search, the capcut pro app will come in front of me. You must install the app. Those who already have Capcode on their mobile phones must update it. Then I will go to Capcode from my mobile phone. From here I will give it Don’t Allow. So you can see that the interface of Capcode is showing here. I will go to Meet from here. After going to Meet, I will go to Settings. From here, we will definitely turn off the watermark that is on the Capcode card.
Capcut Video Editing Tutorial
After turning it off, I will go to Edit again from the bottom. Then from here, I will click on New Project. Then Friends will show all the videos on our mobile phone. So we will select the video that we want to color grade and high quality and click on Add from the bottom. Then Friends, we can see the video here. So check your video from the beginning and end to see where to cut it. So I will cut it by dragging it a little at the beginning of the video like this. And from here, I will just cut this bit, split it and delete it. So I kept my video for 13 seconds. Now we will color grade the video first. Then I will make the video high quality. But we will do all the work with the capcut option.

I will click on the video layer from here. We will go to the bottom and we will get a tool called adjust. We will click here. After clicking, the brightness contrast is coming first. So if the light in your video is low, you can increase the brightness from here. So I increased it slightly from here. There is saturation contrast, I will make the contrast a little minus. There is saturation, I will make it a little plus. Then from here, we will click on the brilliance from here. I will make it a little minus. Don’t add it to it. Make it a little minus. So you can see that the face is ruined. We will fix that later. We have done the work first. Then we can see the next one, sharpen. So we will click on sharpen. We will increase the sharpen a little bit. Then there is clarity, we will adjust it later. Then we can see the highlights. Let’s subtract the highlights a little. Let’s bleach the shadows a little. Okay. Then we’ll go to HSL. After going to HSL, the first thing is red. Let’s leave the red as it is. From here, we’ll go to orange. Let’s subtract the orange. Since the color of our face has increased a lot. You can see. If we subtract from here, the color of the face will be adjusted. Minus a little, I’ll add a little bit of hue to it, then from here there is light, if you want, if you increase the light, our face will become light, but if our face is dark, let’s do the work, from here we will go, we will minus the y in the y, after minusing it, we will add the hue, then we will go, let’s make the saturation 100 percent here, then we will plus the hue and see which color you or we like, so I minused it from here, then if you want, we can increase it a little cyan, and if there is a sky behind you, of course you can increase or decrease the blue color saturation here and see what kind of color you like, so I adjusted it like this, I will click on the tick mark, now friends, we will click on the clarity, let’s increase the clarity to see what kind of clarity we need in our view, I made it 20 from here, after making it 20
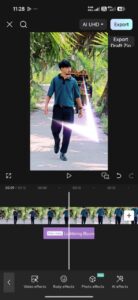
Our video has been color graded very well, so you can see how beautiful the color has become and how bright the video has become. So now we will enhance the quality of the video. If your video is 4K, then you cannot enhance the quality. Only if it is a 108-bit video, you can enhance the quality. Or if you have downloaded and edited a video from Instagram or TikTok or shot it with your mobile phone, you will shoot that video at 108-bit. Then you can enhance the quality from here. Okay? Okay. So to enhance the quality, click on the video letter. Then go from the bottom and go to Adjust a little further. After going, there is Video Quality in front of Adjust. I will click on it. After clicking on it, friends, click on Enhance Quality from here. Then we will drag this option from here to Ultra HD. Okay? So you can see it is in Ultra HD. So 30% is already ready. It will take some time to enhance the quality. We will wait for that time. Friends, the quality of my video has been enhanced. If I show you before and after. This is before. And this is after, after the quality is enhanced, I will click on the tick mark. And if I play the video, of course you can see how much the quality has become clearer and converted to Ultra HD.
Capcut pro
So now you can do some more colors if you want. Click here and go to adjust. Then from here, go to filter and you can use the filter if you want. Let’s see what kind of results we get after using this filter. You can use the filter to see how much it actually works. So I will give 20% from here. I will click on the tick mark. So you can definitely see how the video was blurry before and the color was not that good. But with Capcart, just follow a few steps or do a few things, but I made my video really shine. You have to save this video. To upload it to social media. And I am also teaching you some things to keep in mind while saving. Click on the quality option above. From here, you must select 10 APS. If you upload the video to TikTok, Instagram. There is no problem if you upload it to Facebook. So if you upload it to social media, you must select 10 APS and make it 60 APS. Then click on export and save this video. Friends, I did the entire work with Capcart and I have taught you everything step by step how to do it. If you cannot learn after watching it once, I hope you will learn after watching it a few times. So if you like the article, then definitely like it and write your opinion in the comments.


After I initially left a comment I seem to have clicked
the -Notify me when new comments are added- checkbox and
now whenever a comment is added I recieve four emails with the exact same comment.
Perhaps there is an easy method you are able to remove me from that
service? Thanks!
থতঢঢঢঢ
I was always confused about HSL settings in CapCut, but this guide explained it step by step. The part about adjusting orange tones for skin color was very helpful.
I also found a useful resource here: capcut apk
I was always confused about HSL settings in CapCut, but this guide explained it step by step. The part about adjusting orange tones for skin color was very helpful.
I also found a useful resource here: capcut apk
धनंजय कुमार